Clipping Path vs. Image Masking: What’s the Difference?
Chapter 1: What Is Clipping Path?
Clipping Path is a vector-based photo editing technique used to cut out objects from an image. Imagine drawing a closed loop with a pen tool around the object you want to keep — everything inside the loop stays, everything outside goes away.
How It Works:
Clipping path is usually created in Adobe Photoshop or Illustrator using the Pen Tool. Here’s the process:
-
A designer zooms into the image.
-
They manually trace around the object using anchor points.
-
The traced path becomes a "vector outline."
-
This path can then be used to remove the background or replace it.
Best For:
-
Objects with hard and sharp edges (think mobile phones, boxes, or bags).
-
Product photos that need clean backgrounds.
-
Images that will be used on eCommerce websites like Amazon or Shopify.
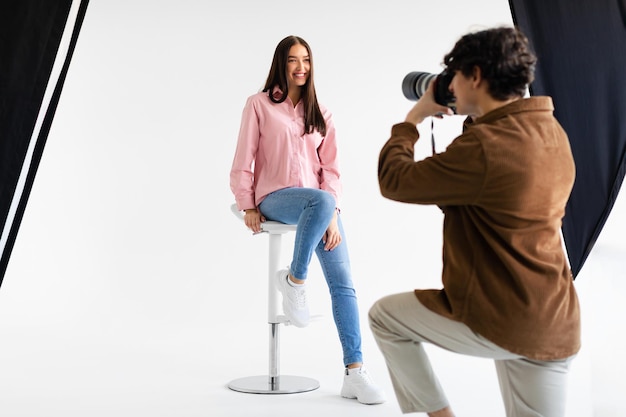
Image Suggestion 1:
-
A before-and-after image showing a product (like a shoe or a bag) before and after a clipping path is applied.
Pros of Clipping Path:
✅ High precision for simple objects
✅ Small file sizes
✅ Clean, sharp edges
✅ Perfect for product cataloging and print media
Cons of Clipping Path:
❌ Not ideal for fuzzy edges (like hair or fur)
❌ Can look unnatural if overused
❌ Labor-intensive for complex shapes
Chapter 2: What Is Image Masking?
Image Masking is a pixel-based technique used to hide or reveal parts of an image using masks. Think of it like putting a piece of transparent plastic over an image — some parts are visible, others are hidden.
It’s great for complex subjects where you can’t just draw around the edges with a pen tool.
How It Works:
There are several types of image masking:
-
Layer Masking – Uses grayscale masks (white reveals, black hides)
-
Alpha Channel Masking – Creates masks based on color information
-
Hair or Fur Masking – Special techniques for extracting fine strands
Best For:
-
Subjects with soft or fuzzy edges (like hair, feathers, smoke)
-
Transparent or semi-transparent items (like glass, netting, or veils)
-
Editorial photos with complex backgrounds
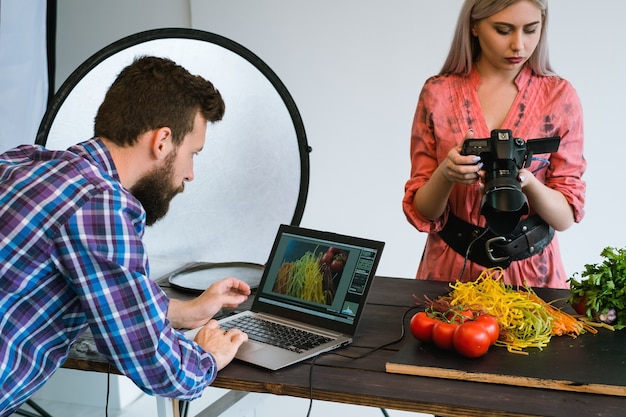
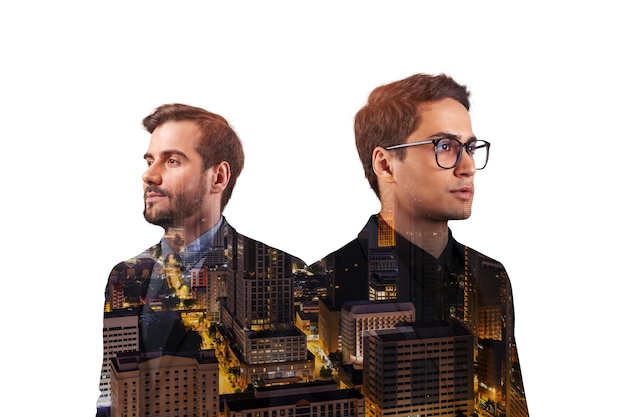
Image Suggestion 2:
-
A portrait photo showing hair strands clearly preserved after applying image masking.
Pros of Image Masking:
✅ Handles transparency and soft edges
✅ Non-destructive (you can modify masks anytime)
✅ Looks natural and smooth
✅ Great for detailed beauty or fashion photos
Cons of Image Masking:
❌ Time-consuming for high-resolution images
❌ Larger file sizes
❌ Requires more experience and software skills
Chapter 3: Side-by-Side Comparison
Here’s a clear comparison table to help you distinguish between the two:
| Feature | Clipping Path | Image Masking |
|---|---|---|
| Technique | Vector-based | Pixel-based |
| Ideal For | Sharp-edged objects | Hair, fur, semi-transparent items |
| Editing Tools | Pen Tool | Layer Mask, Brush Tool |
| Output | Crisp, clean edges | Soft, natural-looking edges |
| File Size | Usually smaller | Larger due to layers/masks |
| Precision | High for simple shapes | High for detailed subjects |
| Reversibility | Harder to adjust | Easy to adjust later |
| Speed | Faster for basic shapes | Slower, more detailed |
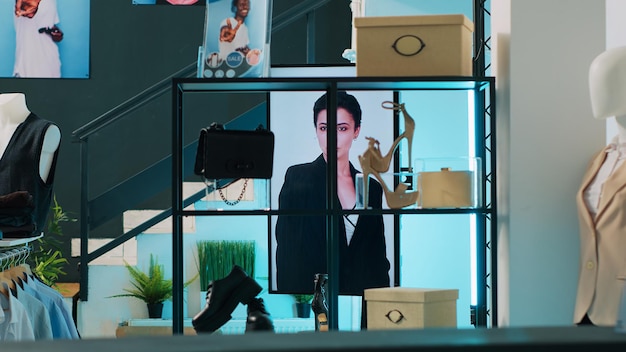
Image Suggestion 3:
-
A split-screen image: left side showing a product with clipping path, right side showing a model with hair preserved via masking.
Chapter 4: Real-Life Use Cases
1. Fashion Industry
-
Clipping Path: Used for clothes like shirts, trousers, and handbags.
-
Image Masking: Used for models with long hair, scarves, or see-through fabrics.
2. Jewelry and Accessories
-
Clipping Path: For watches, rings, bracelets with clean edges.
-
Image Masking: For necklaces with fine chains, earrings with thin loops.
3. Electronics & Gadgets
-
Clipping Path: Phones, laptops, and headphones are ideal.
-
Image Masking: Transparent phone covers or gadgets with screen glare need masking.
Image Suggestion 4:
-
Grid of 3 industries: fashion, jewelry, electronics – each with examples of where path and masking are applied.
Chapter 5: When to Use Both Together
In real projects, it's common to combine both techniques.
For example:
-
A model holding a shiny handbag — use masking for hair, and clipping path for the bag.
-
A product with a shadow — clipping path for the product and masking for the shadow to retain realism.
This hybrid approach gives editors flexibility and delivers more natural, polished results.
Chapter 6: Misconceptions
“Clipping Path Is Always Better.”
Nope. It depends on the subject. Use it for simplicity, but don't force it on complex shapes.
“Image Masking Is Only for Experts.”
While it's more advanced, it can be learned with practice. Even beginners can start with basic layer masking.
“They’re Interchangeable.”
They overlap, but they serve different purposes. Using the wrong one can make your edits look sloppy or fake.
Chapter 7: How We Handle It at Clipping Path America
At Clipping Path America, we don’t just apply one-size-fits-all solutions. Here’s how we decide:
-
We assess the complexity of the object.
-
We choose clipping path for hard edges and masking for soft or semi-transparent areas.
-
For high-end retouching projects, we combine both to ensure a flawless look.
-
We always keep the client’s final usage in mind — web, print, large-scale ads, etc.
Our team includes experts trained in both vector and pixel-based techniques, ensuring that each image is treated with the attention it deserves.
Chapter 8: Tips for Clients
If you’re sending images for editing, here’s how to make things smoother:
-
Send high-resolution files: Low-res images make both techniques harder.
-
Mention usage purpose: Is it for print, web, or catalogs?
-
Highlight areas of concern: Hair, glass, reflections — tell us upfront.
-
Use reference images: Show us the kind of output you expect.
These small details help us choose the right method and deliver faster results.
Chapter 9: Which Is Right for You?
Let’s simplify:
Use Clipping Path if:
-
Your product has clear, defined edges.
-
You need bulk edits for catalogs or marketplaces.
-
You're on a tight timeline and budget.
Use Image Masking if:
-
Your subject has hair, feathers, or soft edges.
-
You need to retain fine details like lace or smoke.
-
You want a natural, editorial finish.
Still unsure? Let us handle it. Just send us your image and we’ll take care of the rest.


.jpg)